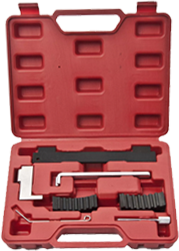
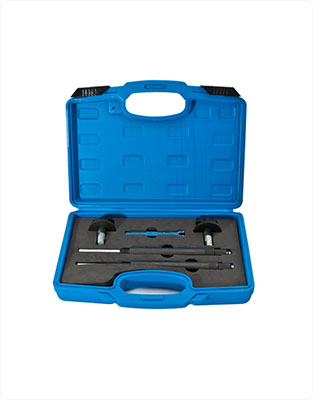
Understand the function of ball joint tool kit
Ball joints are designed to support the hub that connects the tire and wheel assembly, allowing vertical and lateral movement at all angles. Ball joints must withstand shock from potholes and bumps as well as braking and starting pressures. There are two different types of ball joints, compression and decompression. Ball joints keep the car going in a straight line, and using a ball joint tool kit is very convenient when changing ball joints.
The compression ball joint is where the control arm attaches under the hub. When the weight of the vehicle is placed on the hub, the hub is always trying to pry off the ball joint. This type of ball joint is fine, however, if the joint fails, the control arm will separate from the hub, rendering the vehicle inoperable. The relief ball joint is where the control arm attaches to the top of the hub. When the weight of the vehicle is placed on the hub, the hub is always in contact with the ball joint and always tries to squeeze it. This type works well if the ball joint fails, as the control arm may remain in contact with the hub.
Ball joint tool kits are used to remove ball joints from control arms that are pressed in by the manufacturer. Most aftermarket ball joints are bolt-on designs that are an alternative to press-fit ball joints. There are some aftermarket ball joints that resemble press-fit OEM equipment.
How to use the ball joint tool kit?
1. Use the car jack to lift the front end of the vehicle.
2. Remove the front wheel.
3. Remove the brake caliper.
4. Slide down the rotor. You will need to remove the tie rod ends and lower strut bolts. This will allow enough movement to move the knuckle.
5. Remove the upper control arm by removing the cotter pin that holds it in place. You can now remove the ball joint using a ball nose press.
6. Place the ball press on the ball joint on the control arm. The long threaded shaft of the press should be facing up.
7. Place the deep cup of the ball press designed to accommodate the ball joint on top of the ball joint.
8. Use the ratchet and socket to tighten the threaded shaft on the ball press. This pops the ball joint out of the control arm. You are now ready to put in the new ball joint.
9. Install the deep cup of the ball joint tool kit on the new ball head.
10. Tighten the threaded shaft and install the new ball joint in place.
11. Check that the joint is straight after every few turns.
 EN
EN


