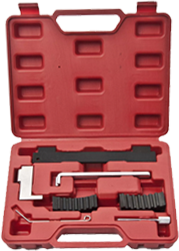
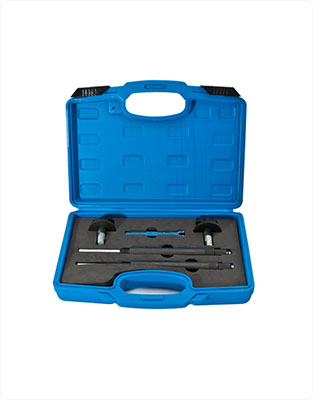
Understanding ball joint installation tools
The ball joint installation tool is mainly used for repairing various types of cars or trucks. Therefore, it is mainly provided as a set. The ball joint pressure set is basically a C-shaped fixture (press) and several adapters. The ball joint installation tool kit adapters are designed with different sizes to make them suitable for various applications.

Understanding how to use ball joint installation tools
What you need: jack, breaker bar, torque wrench, ratchet and socket set, screwdriver, hammer, penetrating oil, carpet/wire brush, ball joint pressing kit.
Step 1: Park your car or truck on a safe and flat surface. This can be an open garage or parking lot.
Step 2: Lift the vehicle and place wedges on both sides of the rear wheels.
Step 3: Remove the wheel assembly. This will allow you to easily access the ball socket.
Step 4: Next, remove the brake caliper assembly, and then remove the brake rotor.
Professional tip: Spray each bolt that needs to be removed with penetrating oil. The fluid will loosen them and make them easier to remove.
Step 5: Disconnect tie rod ends, lower control arms and upper control arms.
Step 6: Now it's time to remove the ball socket using the ball joint installation tool set. Here's how to do it. Find the appropriate ball joint pressure set adapter for your application. Place the tool on the ball socket and control arm assembly with the threaded shaft facing down. Now it's time to connect the ball joint compression tool. Place its deeper receiving cup above the ball socket top. Other parts are also installed together. Use sockets and ratchets or wrenches to tighten the threaded shaft of the ball joint tool. Tighten the tool until the ball joint pops out of the outer shell of the control arm.
Step 7: Use brake cleaner and carpet cleaner to clean the inside and surrounding area of the ball socket hole. You can now install the new ball socket. You still need the ball joint pressure machine to complete this task. Follow these steps. Insert the ball socket into the deep cup of the tool. Place the tool on the ball socket socket on the control arm. Tighten the tool threaded shaft. This will slowly force the ball socket into the hole. Continue to check to ensure that the ball joint pressure machine correctly pushes the joint downward. Unload the ball joint tool.
Step 8: Finally, reinstall other components in reverse order and then lower the car. Check the ball socket to ensure it is installed correctly.
 EN
EN


